
Welcome to Hearth & Larder’s Canning 101 — a slow, thoughtful beginning to one of the most rewarding kitchen skills you’ll ever learn. Whether you’re looking to stretch your grocery budget, make the most of seasonal abundance, or fill your shelves with handmade food you trust, this guide will walk with you, one jar at a time.
What We’ll Cover
1. What is Home Canning?
2. Why it’s the Perfect Place to Start
3. The Basic Tools You’ll Need
4. How to Water Bath Can — Step by Step
5. 3 Mistakes Beginners Make (and How to Avoid Them)
6. Why Canning Helps Save Money & Build Food Security
7. FAQs
8. Free Download + Discount Code
1. What is Home Canning?
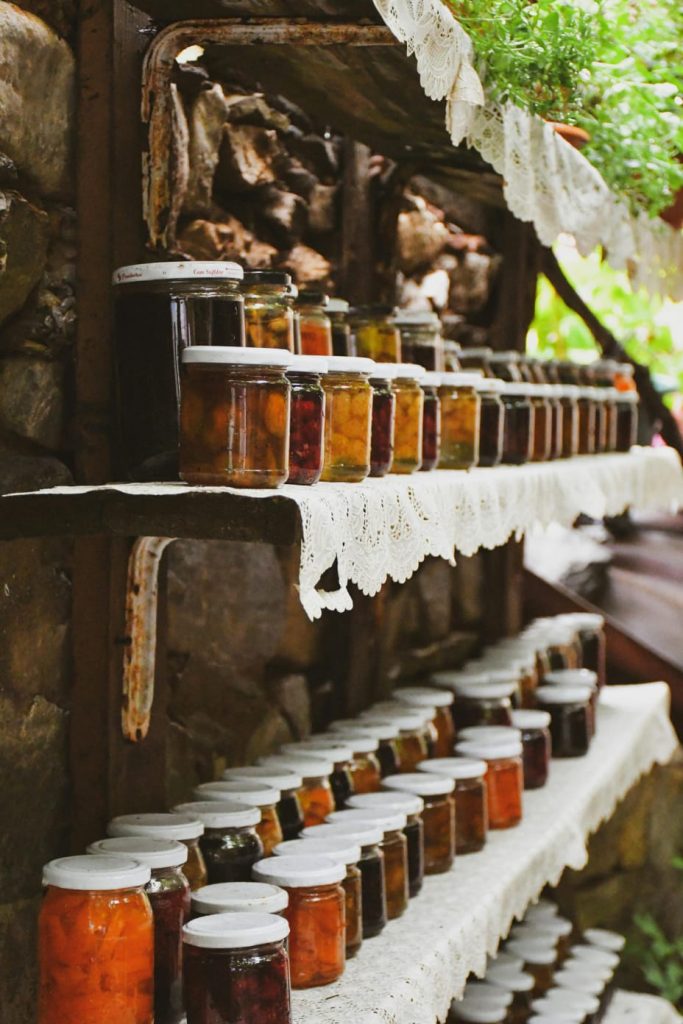
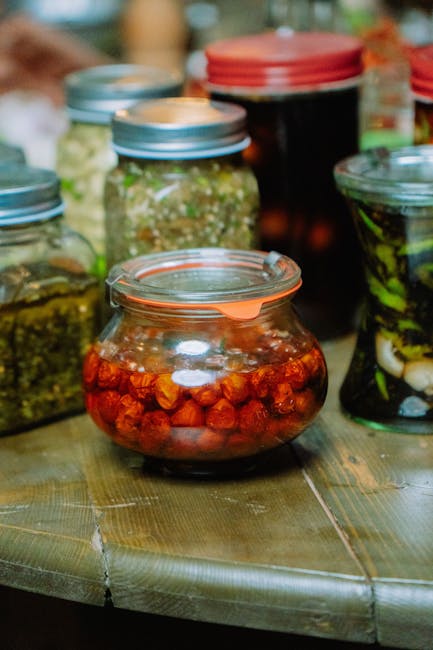
Home canning is a traditional method of preserving food by placing it in glass jars and heating them to create a vacuum seal. This seal protects the food from spoilage — meaning no fridge needed — and allows you to store your homemade goods safely on a shelf for months to come.
It’s not about being perfect. It’s about being present — filling jars with good food, a little at a time.
2. Why Canning Is the Best Place to Start
Canning is beautifully beginner-friendly — especially when you start with water bath recipes like jams, fruit syrups, and pickles. Here’s why we love it:
Stretch your budget — preserve bulk produce or what’s in season
Know your ingredients — no strange names or hidden additives
Build food security — a full pantry = peace of mind
You don’t need fancy tools or a big kitchen. Just a willingness to learn.
3. The Simple Tools You’ll Need
Glass jars + new lids. Use proper canning jars (like Consol or Kilner)
Jar lifter + wide-mouth funnel. Makes filling and handling safe and clean.
Large pot with lid + rack for water bath canning (you likely already have this or can use a dish cloth)
Vinegar (5% acidity) or lemon juice. Helps keep acid levels safe
Seasonal produce. Think: tomatoes, fruit, pickles, or jam fruits
> Tip: Most of these are included in our beginner kits — so you don’t have to gather it all yourself.
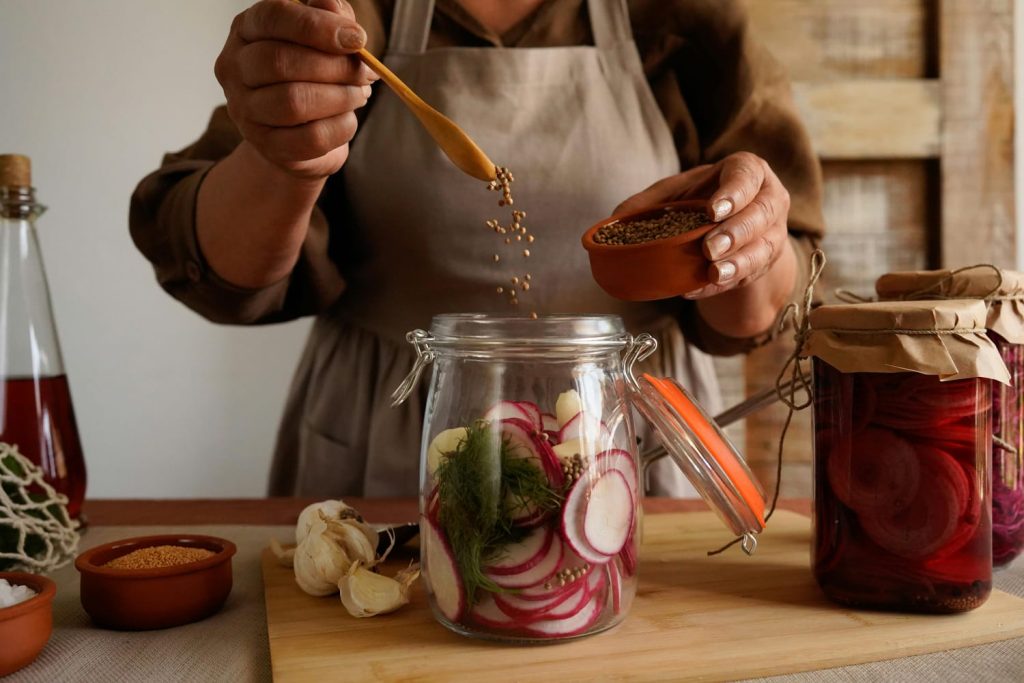
4. Step-by-Step: Water Bath Canning
Here’s a simple outline for your first batch of jam or pickles:
1. Sterilize your jars (boil or run through dishwasher)
2. Prepare your recipe and heat it up
3. Fill jars carefully using a funnel
4. Remove air bubbles (use a chopstick or bubble remover)
5. Leave headspace — about 6mm at the top
6. Wipe rims clean, then apply new lids
7. Process jars in a boiling water bath (time depends on the recipe)
8. Cool and check seals — a firm “pop” = success
–
5. 3 Common Mistakes (and How to Avoid Them)
1. Skipping jar sterilization
➤ Always boil jars or use a hot dishwasher cycle
2. Forgetting headspace or bubbles
➤ Leaves room for safe sealing and prevents spoilage
3. Not using the right acidity or time
➤ Follow tested recipes with 5% vinegar or lemon juice
6. Why Canning Saves Money & Builds Security
Over time, canning is one of the most economical skills you can learn:
Buy fruit or veg in bulk — or use what’s in your own garden
Reuse jars and buy spices or salt in larger quantities
Skip store-bought sauces or jams — make your own, and make it better
But more than that, it gives you peace of mind. A shelf full of your own preserves feels like a safety net — especially in uncertain seasons.
7. FAQs
Can I reuse lids?
No — lids can only seal once. Rings and jars can be reused.
Do I need a pressure canner?
Not for high-acid foods like jams, pickles, or fruit syrups. For low-acid items like meat or beans, yes — but that’s a later step.
8. Get Our Free Guide + 10% Off
Want to avoid the most common beginner mistakes — and get started with confidence?
Download your FREE guide — “5 Mistakes Beginner Canners Make (and How to Avoid Them)”
Plus, we’ll email you a 10% off code to use on your first Beginner Canning Kit.
I love you 7 Theron’tjies SOMMER baie!!!